Winter driving across the northern states brings a terrifying, often unnoticed hazard. As temperatures drop below freezing and municipal trucks coat the highways, drivers frequently experience a sudden, dangerous loss of nighttime visibility. You might assume your halogen or LED bulbs are failing, but the real culprit is a thick, opaque layer of road brine and salt sludge instantly baking onto your warm headlight lenses, cutting illumination by up to seventy percent in a matter of miles.
For decades, mechanics and winter safety professionals have relied on a surprising, off-label trick to combat this blackout effect. By repurposing a widely available windshield treatment designed strictly for automotive glass, you can create an invisible, impenetrable shield on your plastic headlight covers. This single, three-minute hidden habit prevents hazardous winter grime from adhering, ensuring your path remains brilliantly lit even in the most brutal blizzards.
The Science of Hydrophobic Headlight Protection
When you apply Rain-X to your exterior light housings, you are depositing a microscopic layer of polydimethylsiloxane polymers. These silicone-based compounds naturally repel water, but they also possess a profound resistance to alkaline winter road treatments. As the warm plastic of your headlight creates a thermal trap, wet snow mixed with rock salt typically crystallizes on contact. However, the hydrophobic coating forces the dirty water to bead up and roll off instantly at speeds over thirty miles per hour.
Diagnostic Symptoms of Salt-Blinded Headlights
- Symptom: Dimming light on the highway = Cause: Salt spray drying and crystallizing on warm plastic lenses.
- Symptom: Scattered, blinding beam pattern = Cause: Micro-scratches in the plastic filled with dried magnesium chloride.
- Symptom: Yellowish, muddy glow during storms = Cause: A chemical mixture of road grime, rust, and calcium chloride baking onto the surface.
| Driver Profile | Primary Benefit of Headlight Coating | Expected Outcome |
|---|---|---|
| Highway Commuters | Prevents high-speed brine accumulation | Maintains 100 percent beam distance during storms |
| Rural Drivers | Sheds mud and slush instantly | Keeps peripheral illumination clear for spotting wildlife |
| City Drivers | Stops acidic black slush from baking on | Reduces the need for frequent gas station squeegee stops |
Understanding why this barrier works is only half the battle; the real magic lies in the molecular mechanism of the fluid itself.
How the Repurposed Shield Defeats Winter Brine
- Illinois Tollway permanently disables plastic transponders in favor of RFID stickers
- Cheap pumice stones extract woven dog hair from automotive carpets instantly
- CarMax aggressively rejects electric vehicle trade ins exhibiting rapid battery degradation
- Mass airflow sensor cleaning restores lost gas mileage within ten miles
- Chevrolet Colorado software glitches drain batteries completely overnight
| Technical Factor | Scientific Data / Dosing | Mechanism of Action |
|---|---|---|
| Application Temperature | Apply above 40 degrees Fahrenheit | Allows siloxane bonds to cure to the plastic surface without freezing |
| Fluid Volume (Dosing) | 0.5 ounces per headlight lens | Provides complete saturation for maximum hydrophobic cross-linking |
| Curing Time | 5 to 10 minutes | Allows the solvent carrier to evaporate, leaving pure polymer behind |
While the science of this barrier is virtually bulletproof, applying it incorrectly can actually worsen your winter visibility by creating a smeared, hazy mess.
The Step-by-Step Execution Protocol
Experts advise treating this process with the same care as applying a ceramic coating to your car paint. The goal is pristine clarity combined with maximum surface tension. If the plastic is dirty before you begin, you will simply seal in the grime, defeating the entire purpose of the winterizing treatment.
The Top 3 Application Steps
- Decontamination: Wash the headlight with automotive soap, then wipe it down with 70 percent isopropyl alcohol to strip old waxes and grease. Dry completely.
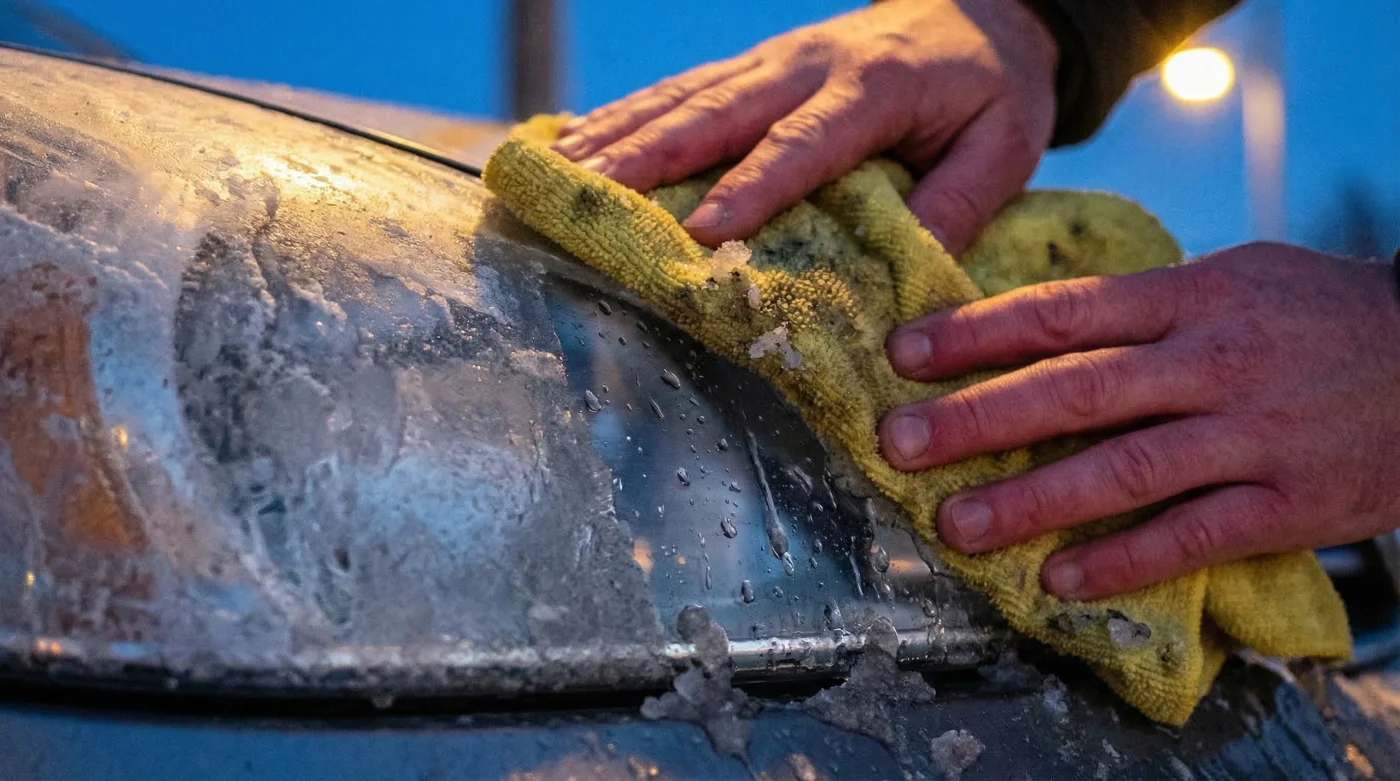
- Polymer Application: Apply approximately half an ounce of Rain-X fluid to a clean microfiber applicator pad. Rub it firmly into the polycarbonate lens using overlapping, circular motions to ensure every microscopic pore is filled.
- The Flash and Buff: Wait exactly five to ten minutes until a distinct, cloudy haze forms on the plastic. Use a fresh, dry microfiber towel to buff the haze away, revealing a crystal-clear, hyper-slick surface.
| Quality Guide Factor | What to Look For (Best Practices) | What to Avoid (Common Mistakes) |
|---|---|---|
| Applicator Material | Lint-free microfiber or specialized foam pads | Paper towels, which leave paper dust and cause micro-scratches |
| Surface Condition | Bone dry, cool to the touch, and freshly stripped of dirt | Applying directly over oxidized, yellow, or wet plastic |
| Buffing Technique | Fast, light circular motions until the haze vanishes | Pressing too hard, which strips the newly laid polymer layer |
Mastering this simple application technique transforms your vehicle safety profile, but longevity requires a specific maintenance cadence throughout the freezing months.
Maintaining Peak Illumination All Season
Unlike glass, plastic expands and contracts dramatically with temperature shifts, which can slowly degrade the hydrophobic barrier. To maintain optimal salt-repelling power, experts advise reapplying the Rain-X fluid every three to four weeks, or after every 500 miles of heavy winter storm driving. If you notice the road grime is no longer beading up into tight spheres, it is time for a fresh coat.
When cleaning your headlights at the gas station between applications, never use the abrasive squeegee sponge provided in the bucket, as the gritty, contaminated water will strip the coating instantly. Instead, keep a spray bottle of clean water and a soft towel in your trunk. Simply mist the treated lens and wipe gently. The winter road salt will slide right off the Rain-X barrier, keeping your path safe, bright, and brilliantly illuminated all winter long.